Quick Fix for a Floor Gap

Its been about three years since we moved into our home and slowly with the changing seasons our laminate flooring has shifted. This shifting caused a large gap between boards and no matter how hard I pushed, my amazing strength was unable to make the boards budge. The gap showed the yellow pressed board board beneath and stood out like a sore thumb. I don’t have a before picture because I randomly had the brilliant idea of coloring it with color pencil to make it blend in. See below…

IMG_7035

The color only seemed to draw your eye the the depth of the gap. While I could have possibly used a stain pen for a better cover up I decided to patch the gap instead. I happened to have some linoleum floor samples laying around (who doesn’t?) and a pair of kitchen shears so I went to work.

IMG_7043 First I choose the color that most closely matched my floor and cut a slice the size of the gap. The sample wasn’t long enough so I ending up needing to pieces.


The cutting was easy and I was even able to shave a bit off the original to ensure a tight fit. Seeing as the linoleum sample was thinner than my floors I simply put another piece below the first to get it level.

IMG_7042In the end the gap is hardly noticeable, it was super easy to complete, and it cost me $0.

IMG_7039

*Update: The quick fix has been in place over a week now and survived vaccuming and mopping. I ending up with a pretty snug fit but if your pieces weren’t perfect you could consider glueing them in place.

A Rustic Christmas

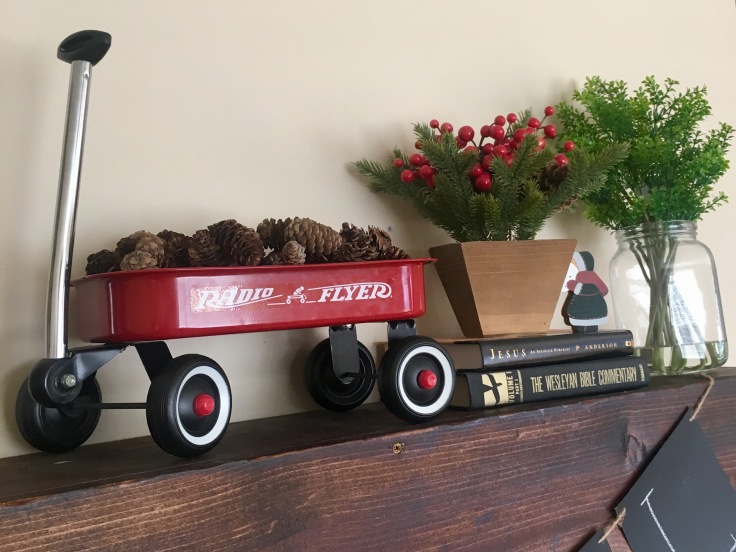
I’m not the only one in my family that has fun decorating for Christmas. My sister Lindsay has boxes of beautiful decor that she places just right around the house. Her decorating makes you wanna cozy up with a cup of cocoa (and her hospitality allows me to do just that when I pop in unannounced). A touch of Christmas in every room! IMG_6584IMG_6585IMG_6586IMG_6588IMG_6589

IMG_6587IMG_6591

IMG_6590

Christmas Tree: Decorating with Greens

My favorite time of year has begun and I’ve just complete tree number one. While this tree will be part of the Christmas 2017 album I wanted to do a special post for those that aren’t super happy with their tree to begin with. Maybe your tree is to dark green for your taste, maybe the branches lack variation, or they may be  sparse. Whatever you Tree looks like just think of it as a blank canvas!


For this particlular tree I wanted to lighten up the green and add some more texture. This was accomplished by stuffing the tree with a variety of greenery before decorating. I used everything! Ivy, ferns, grasses, berries, and more. Basically if it was in the not used greenery box it went on the tree.

IMG_6429When decorating a tree with greenery the key is to either stick with one or two types evenly spread or stuff as much as you can being careful to balance color and texture. After filling in our tree we added our other decorations.


This tree is located in a central location of the home so I kept it in line with the surrounding decor. Three types of ribbon (Isn’t the black and white stripe just amazing!) standard round ornaments, some unique ornaments, and even beaded garland make this tree a stunning site and to be honest the photos don’t do it justice!

IMG_6449

Simple Framed Canvas

IMG_6280Framing a canvas can help it stand out, give it a more finished look, add some  character, or provide some much needed contrast. The great thing about framing your own canvas is you can choose any finish you would like to help it blend in or stand out.

For my frame I kept it simple and choose boards that would match the depth of the canvas and provide a one inch border. You could also go wider or create some depth by extending the frame beyond the canvas.

After measuring and cutting the boards at a 45 degree angle. I used small nails to nail the pieces drirectly into the existing canvas. Originally I planned on the frame being white washed but after hanging it I decided I needed more contrast so I painted it dark grey.

I did white wash it before assembling which was a bit faster and easier but a little painters tape made the redo a breeze.

IMG_6299

Do you have any Canvas’ that could use a spicing up? Maybe a white washed fram or some metallic? Stain of any shade or a bright pop of color? The possibilities are endless. Feel free to share your own canvas frames below!

Halloween Decor: 2017

This years Halloween Decorations took about 5 min to put up but really made an impact. We ready for Halloween are you?

IMG_6168
Quick Change Halloween Wreath
IMG_6167
Pipe Cleaner Spiders 
IMG_6161
A few corn stalks from the garden and some small pumpkins transorms the wilting summer pots. 
IMG_6169
Bright orange tape wrapped around the exterior light makes the while house feel in the spirit. 
IMG_6163
DIY Yarn Spider Web 


Decorating with Damaged Books

I love books, having two young children I seldom finish them, but I do enjoy a good read. One thing I don’t enjoy, is damaged books. I know the cover being bent, the corners folded (ever heard of a bookmark people…you know who you are) or a small tear doesn’t change the story but it really bugs me. Since I love decorating,  I have decided to turn my unliked damaged (or outdated) books into much loved home decor. It is so simple anyone, and I mean ANYONE, can make good use of them.

IMG_6092

Start with a damaged or unwanted paperback book. (See the final tip for hardcover books*)  Pull the cover back,  striping it from the binding. Once one side is removed pull off the other side and even a page if you’d like it to look a little different.


Use the books separately or tie them in groups and place around your home. Tip: when stacking, vary the sizes but make sure the largest is on the bottom. Also, be sure to pay attention to color and stick with similar books or use ones that all differ in color. Avoid the odd one out look.


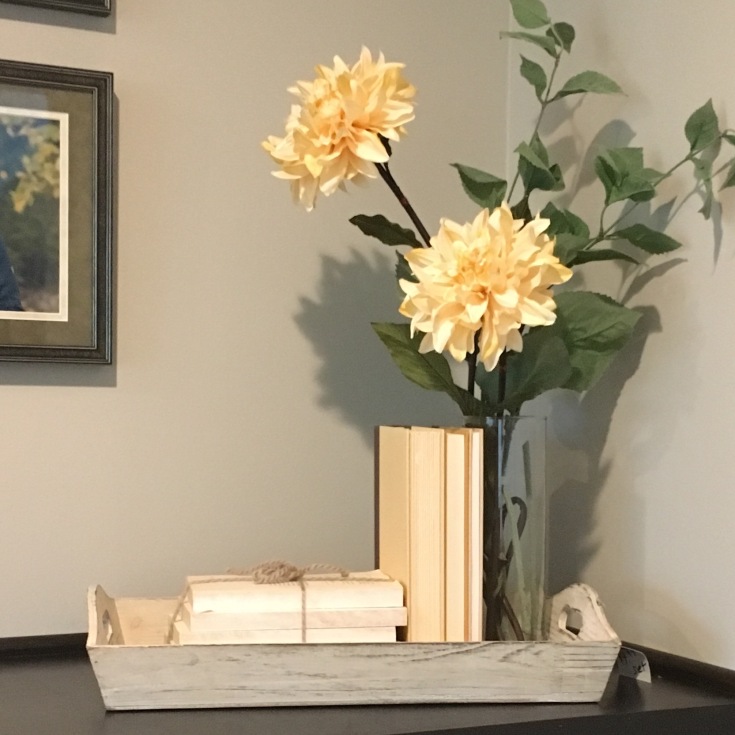
Old books are perfect for grouping with additional items, placing in trays, decorating shelves, or laying on coffee and end tables.

IMG_6104IMG_6113IMG_6110IMG_6111

52858894105__7799A5B4-E886-4D83-B60A-032B49BE171D

*Tip: With hardcover books you can remove the book jackets and even use them with the binding facing in to create a more uniform look.

Light Fixture Upgrade: DIY Canning Jar Light

IMG_5912I recently visited my sister in her beautiful new home and she blessed me by allowing me to help get some house projects done! The first thing we tackled was this light fixture over her sink. We were looking for a cheep fun update that better fit her style and we opted to go with a Canning Jar for a new shade. We began by removing the old glass shade and pieces.

IMG_5914After disassembling things we needed to create a hole in the center of the Jar lid. The hole needs to be the same size as the hole in your previous glass shade.  In order to cut the hole you can use a special drill bit as we did Or you can puncture all the way around the hole with nails essentially leaving you with dotted line of death to punch out. With my history of cuts and my brother-inlaws knowledge of tools we opted for using the drill instead.

IMG_5928With the holes complete we simply slid the lids onto the light fixture and secured them with the metal ring used to hold the shade.


Next we screwed in the our new light bulbs which we bought to fit the mouth of the jars. You could use wide mouth jars which would allow you to fit standard light bulbs however it does change the look and the lid is wider and doesn’t bled with the currentl fixture as well. Also be sure to use clear bulbs or Edison depending on your design aesthetic.


Lastly we screwed on the jar and out fixture was complete!

IMG_5944

*Update: While we had discussed wrapping the fixture stems in rope we didn’t get to it when I was visiting. Take a peek below for their final rustic fixture makeover!

IMG_6017IMG_6016

Above Cabinet Decor

For the longest time I’ve neglected the space above my cabinets. While placing the right items above cabinets can bring the eye up and make a room feel taller, using the wrong items can make things feel cramped or messy.

In this area I used two simple items to bring the eye up without overcomplicating the space.

IMG_5660

One thing to remember when decorating above cabinets is that items may need to be raised or propped up. Books, boxes, and easels can help items fit your spaces better. Just remember to use books you’ve already read and things you won’t be needing!

I love how this simple change brought life to this under utilized space!

On a side note, I made both the sign and arrangement. The sign was a left over board I had that I white washed and hand painted. The arrangement was made in a beautiful crock I bought for $2 a while back. Here are some photos of the two items in process.


Sit Back and Relax: Adirondack Chair Makeover!

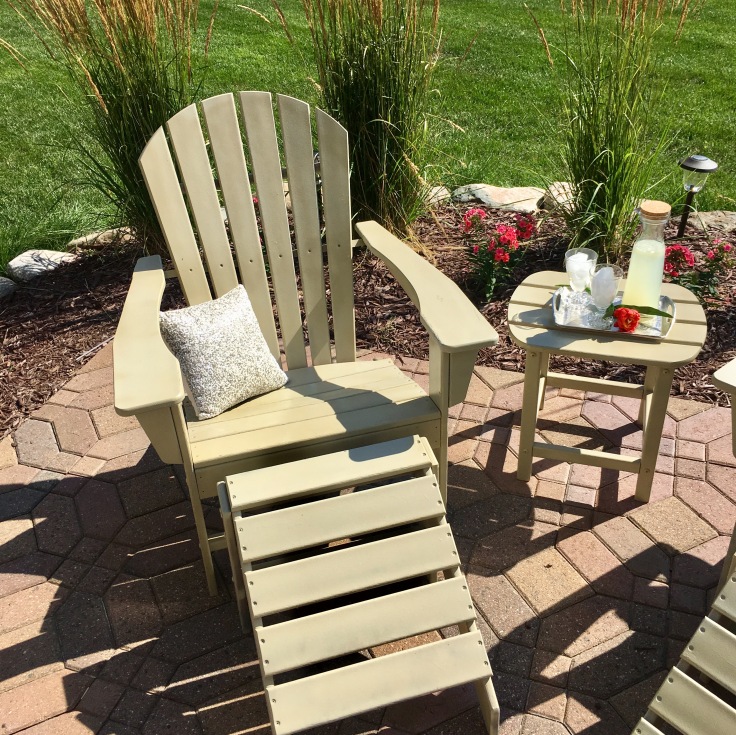
This project started with some extra patio space and a pair of beat up Adirondack chairs.

I wanted to use this small space on my patio as a place to sit back and relax. After a little pressure washing and a lot of painting the chairs looked just like new!

I now have a great place to sit with a book or invite a friend over to chat. I can’t think of a better use for this small patio space!

IMG_5447IMG_5442

Creative Design: Thinking outside the box.

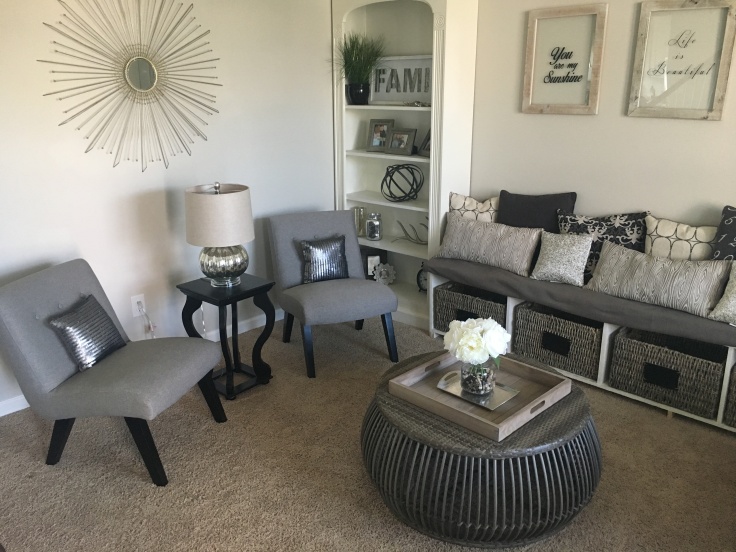
When we moved into our new home we had a front room labeled the “flexroom”. While it was decorated as an office in the model home, we had no need for an office and it required a bit of creativity to make it a purposeful space that met our needs. Because this room is the first thing you see when you walk into our home it was important to me that it was not only a functional space but also welcoming.

IMG_5233

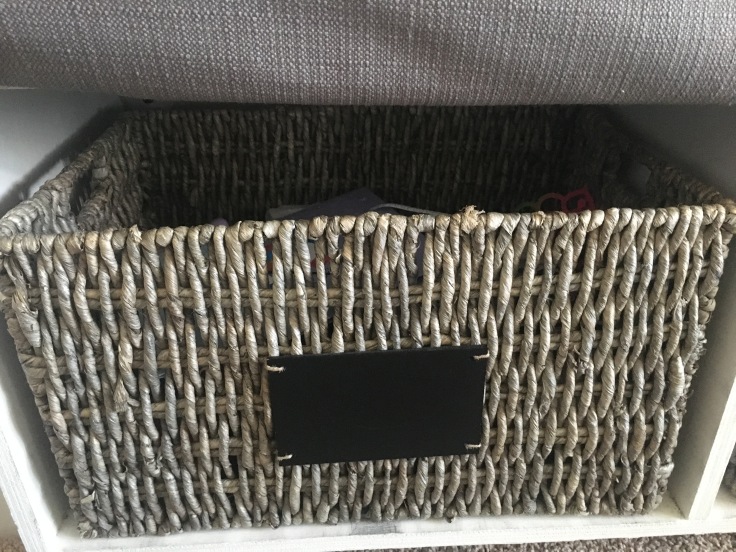
Having young kids, we knew we didn’t want a playroom to be the first thing guest saw but we also knew that toys would end up here. We tackled this problem by including a custom made bench with large wicker baskets to hide away unsightly toys. It’s amazing how quickly the kids can clean up when all they have to do is throw the toys in the bins!

IMG_5248

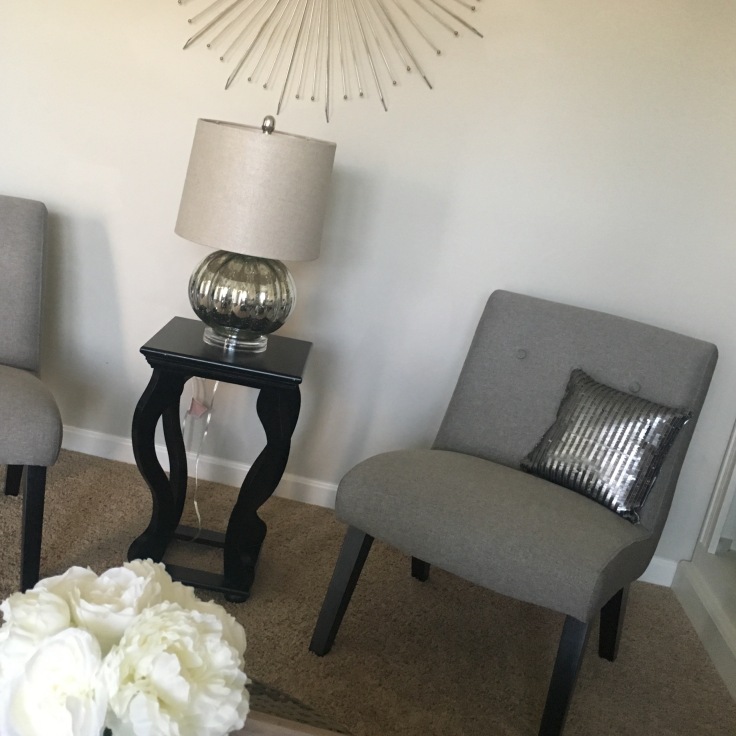
While the kids love to play in this room it also a favorite place of mine to chat with friends. To make this room a welcoming place for adults I added four simple chairs and small end tables. Having a place for guest to set their coffee or tea makes the room much more practical for entertaining. We actually use this room all the time and the space functions wonderfully as a casual sitting room.


One thing that really required a creative solution was what to do with people’s coats when they came into our home. We do have a coat closet near the door but it may or may not be full of games and spare decorating items. This simple hanging coat rack is the perfect thing for our entry. It doesn’t take much space and is super functional!


One thing that took a while was finding a unique coffee table to pull everything together. I had been looking for some time but didnt find anything I loved. Luckily, my mom came across this table labeled for outdoor use. While the table may have been meant for a patio, I quickly decided it may actually be the perfect fit for my room. I tried it out inside and it was a perfect. Don’t let labels define your decorating and don’t be afraid to think outside the box!


With a bit of time and creativity our “flexroom” has finally become a functional and welcoming space!

IMG_5238

Blog at WordPress.com.

Up ↑