
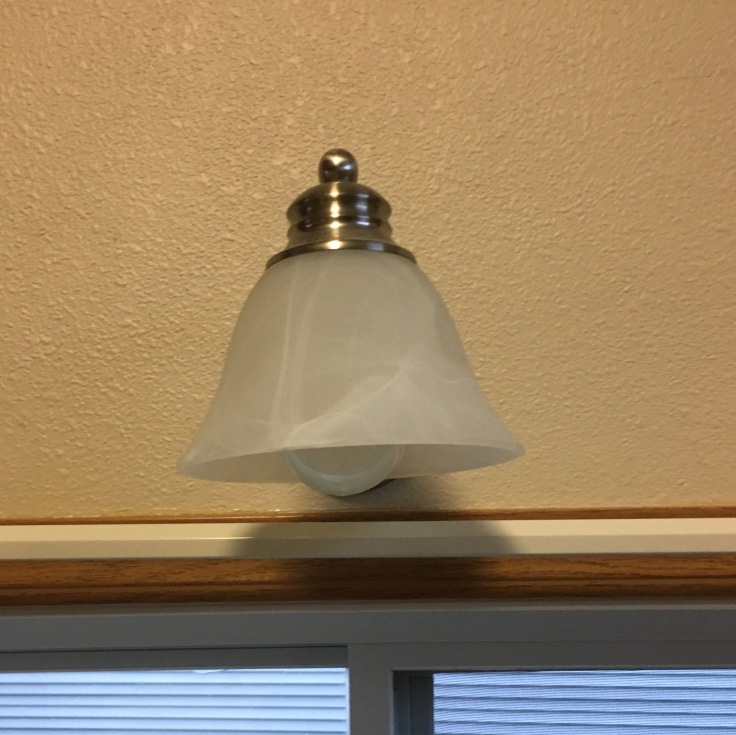
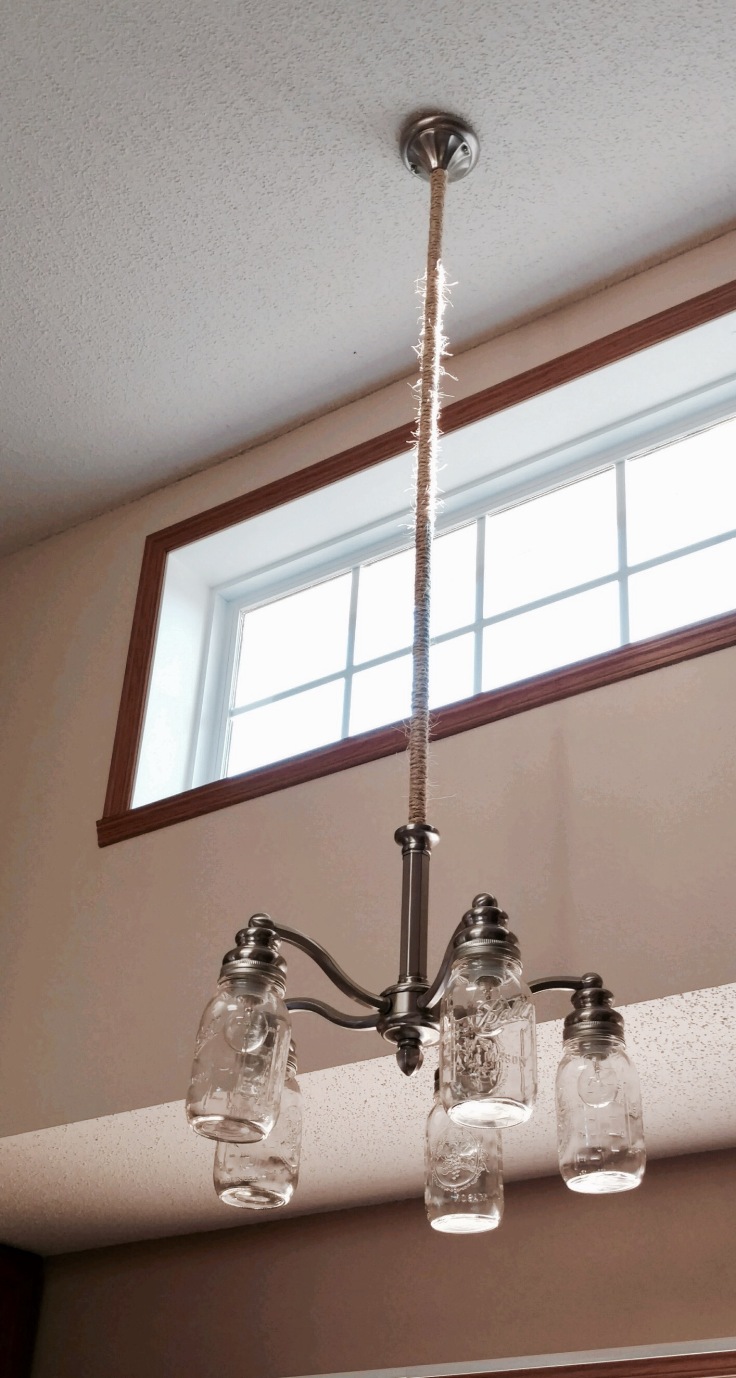
 I recently visited my sister in her beautiful new home and she blessed me by allowing me to help get some house projects done! The first thing we tackled was this light fixture over her sink. We were looking for a cheep fun update that better fit her style and we opted to go with a Canning Jar for a new shade. We began by removing the old glass shade and pieces.
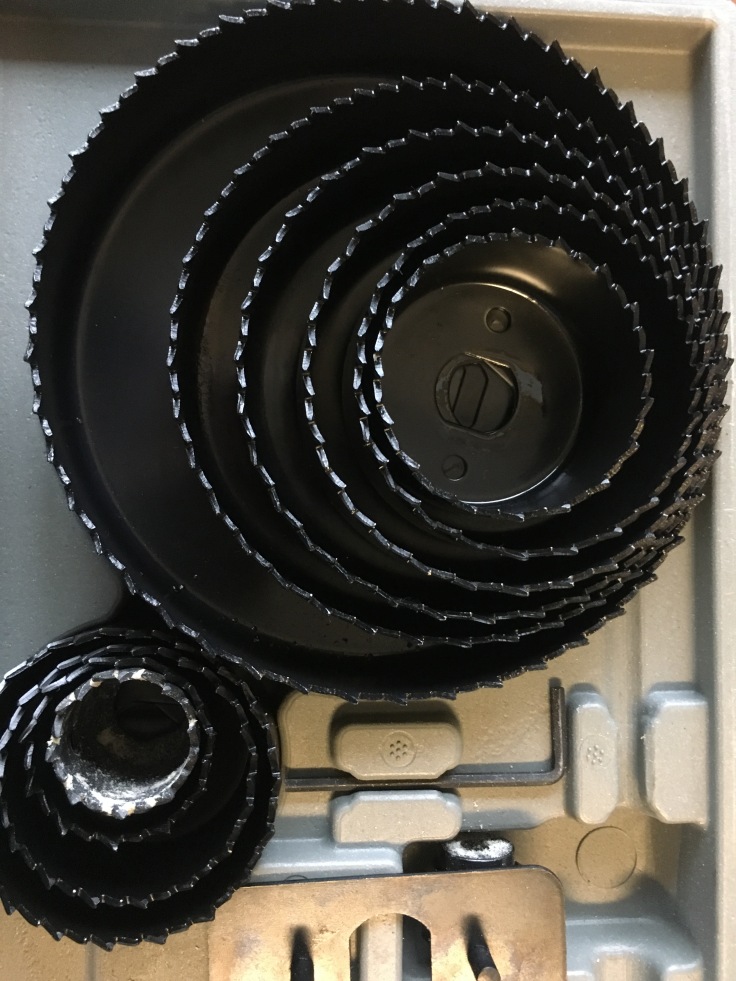
 After disassembling things we needed to create a hole in the center of the Jar lid. The hole needs to be the same size as the hole in your previous glass shade. In order to cut the hole you can use a special drill bit as we did Or you can puncture all the way around the hole with nails essentially leaving you with dotted line of death to punch out. With my history of cuts and my brother-inlaws knowledge of tools we opted for using the drill instead.
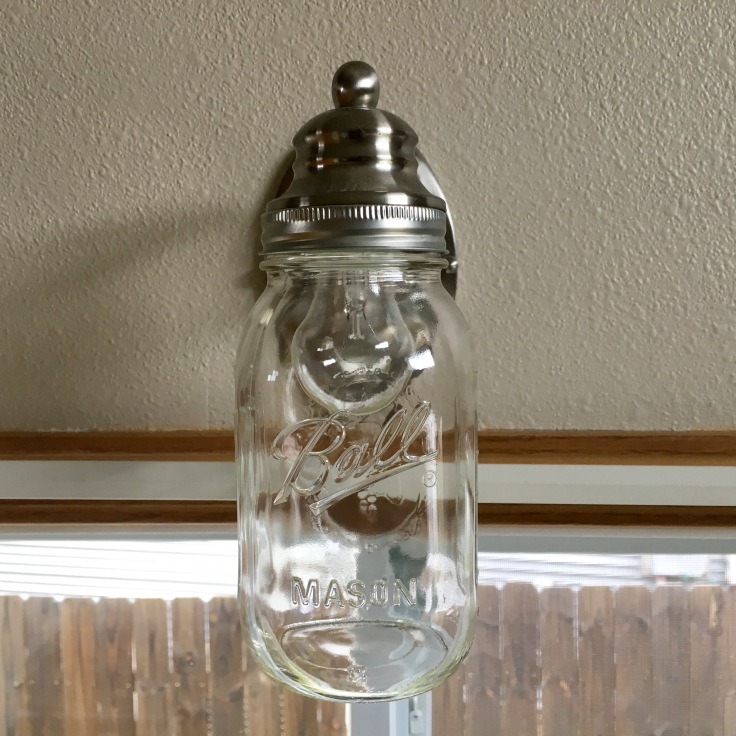
 With the holes complete we simply slid the lids onto the light fixture and secured them with the metal ring used to hold the shade.


Next we screwed in the our new light bulbs which we bought to fit the mouth of the jars. You could use wide mouth jars which would allow you to fit standard light bulbs however it does change the look and the lid is wider and doesn’t bled with the currentl fixture as well. Also be sure to use clear bulbs or Edison depending on your design aesthetic.


Lastly we screwed on the jar and out fixture was complete!
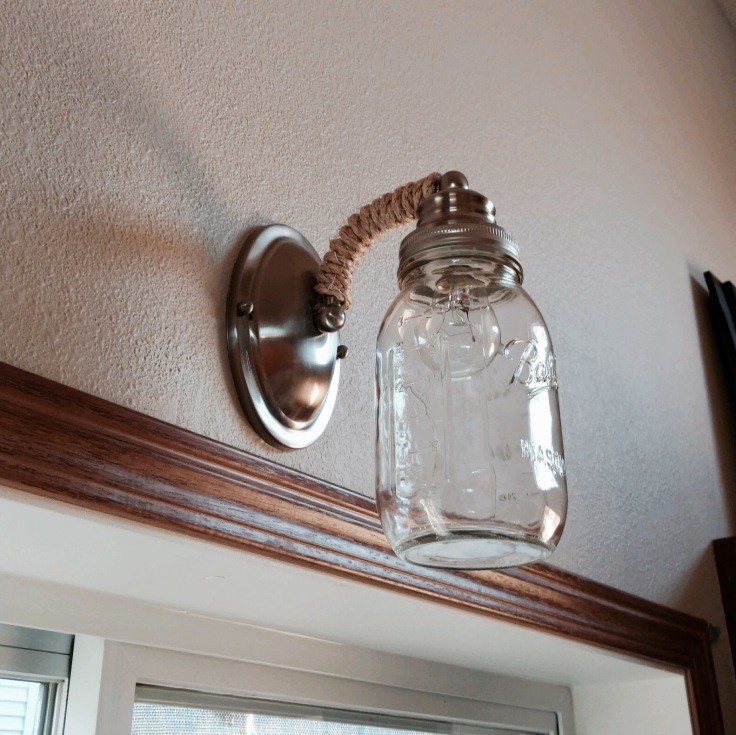
*Update: While we had discussed wrapping the fixture stems in rope we didn’t get to it when I was visiting. Take a peek below for their final rustic fixture makeover!

AWESOME!
LikeLike